B-Town’s Babes in Bling
Public Group
Active 7 weeks ago
Welcome to B-Town’s Babes in Bling. We are accepting new members. We are open to Red and Pink Hatters.... View more
Group Organizers
- Organized by
-
-
Group Description
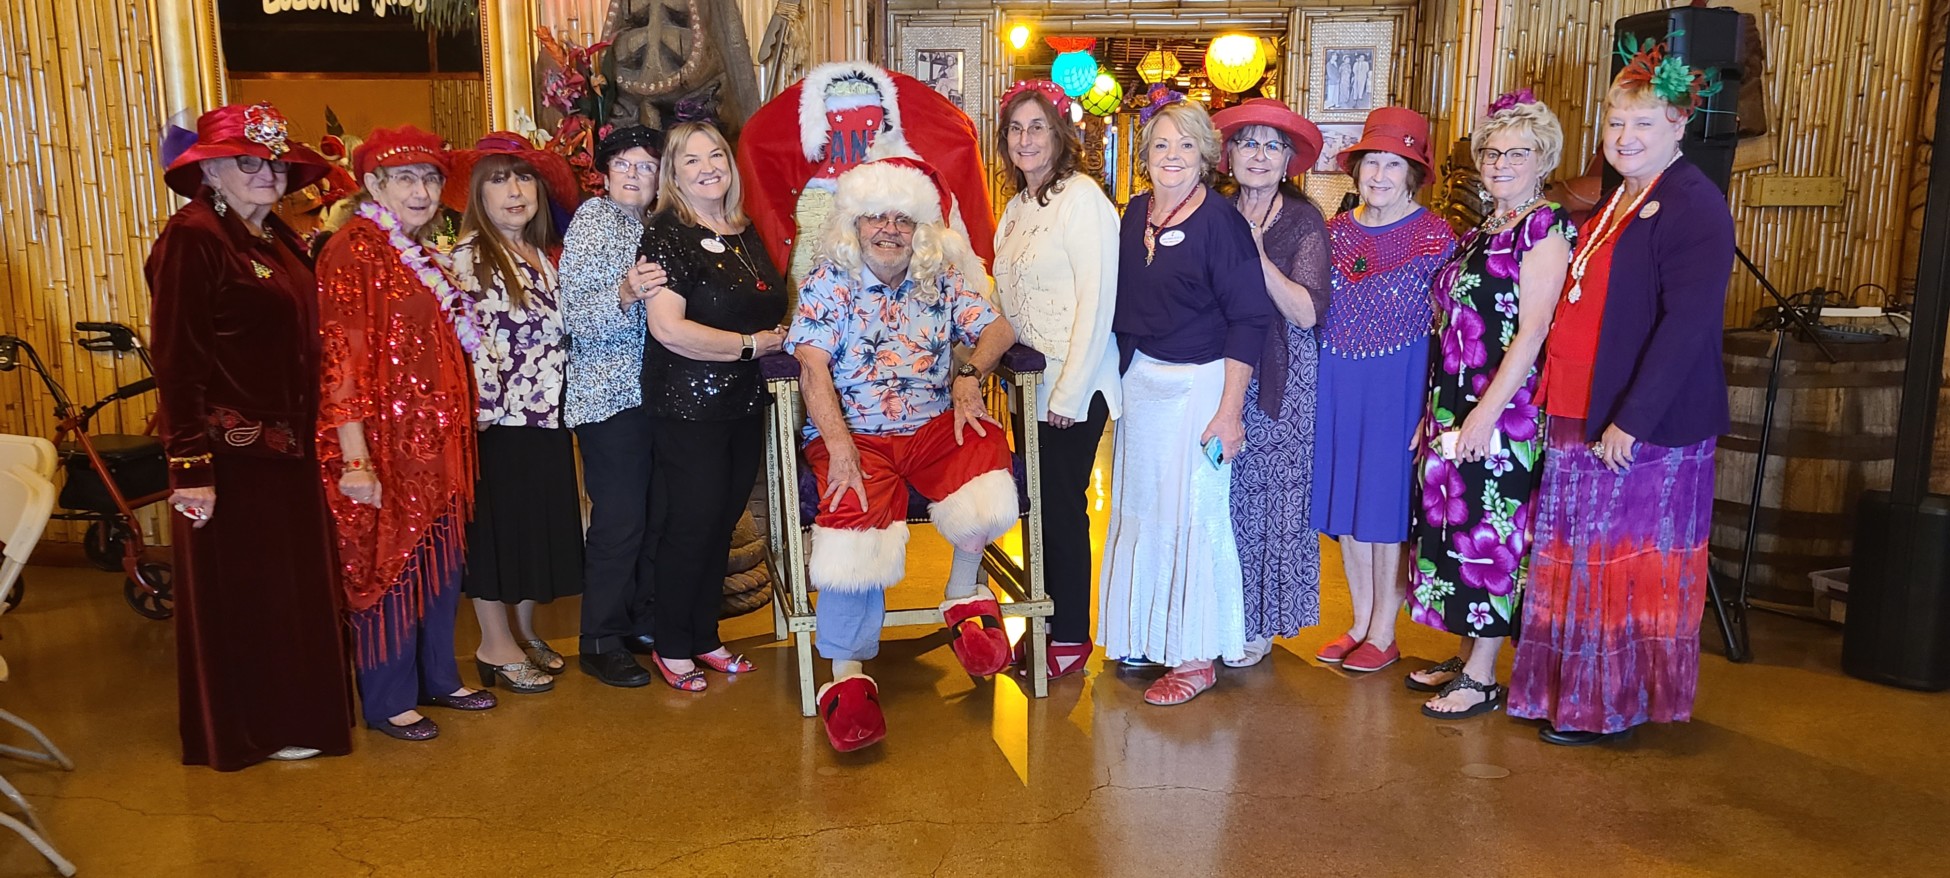
Welcome to B-Town’s Babes in Bling. We are accepting new members. We are open to Red and Pink Hatters. We are located in Bakersfield, CA. We like to have tea parties, PJ parties, lunches, dinners, view movies, pool parties, celebrate holidays, game days, murder mystery parties, craft days, train trips and many more events. If any of this appeals to you, please contact JJ, Queen of the Dale.
Reply To: #ThriftyThursday
-

For this week’s #ThriftyThursday I have chosen a blog by Sara Lynn about upcycling a Light Fixture.
Upcycle a Light Fixture Into a New Lamp
In light of Earth Day and the recent attention that climate change has been receiving, you may be looking at items in your home in a new light. Instead of simply replacing and tossing out an old item, it could be repurposed for something completely different, upcycled. Like into a diy night light.
Supplies For DIY Lamp
· LED Light String/ Fairy Lights
· Vinyl Decal
· Rubbing Alcohol
Step 1: Clean The Light Shade
Before any project you should always clean your thrifted supplies.
You’re going to want the lamp shade to be really clean for the new night light. Give it a good soak to clean off any built-up grime. You may need to scrub at it with ah cloth too.
The vinyl decal will adhere better if the lamp surface is squeaky clean. Wipe rubbing alcohol on the outside of the lamp and let it dry. This really cleans off any leftover residue that soap did not take off.
Step 2: Make Your Vinyl Decal
Cricut’s Design Space program
I have the benefit of owning a Cricut machine that cuts and prints on a variety of surfaces. It’s a crafters dream tool. Using their Design Access program, I created a Hawaii scene that would be on the night light. Then my Cricut machine cut it out of vinyl.
If you do not have a vinyl cutting machine, you can purchase a vinyl decal that you like from a craft store, online, or use stickers to make a scene.
Keep in mind that when the night light is on, you’re only going to see the silhouette of your decal or stickers. And they will look black.
Black vinyl is usually less expensive than colored vinyls and can be bought in bulk. Since this decal was going to appear black anyways when the light is turned on, I decided to stick with black vinyl.
Step 3: Stick On Your Vinyl Decal
It’s easier to work on curved items if your decal is smaller or can be applied in sections.
If you’re new to using a Cricut machine I highly recommend looking up Jennifer Maker for guides, tips, and designs to get started. Her website is where I learned how to use mine.
So once your vinyl is ready to transfer, decide where you want it to go. Test out sitting your lamp shade in the wood bowl base to find out how much of the light sits inside the bowl. You may want to use a dry erase marker to mark a line at the tip of the bowl, although I didn’t do this.
A word of wisdom: go slowly with putting the decal on, especially if it is large. Curved objects are harder to stick a decal on than flat surfaces. The leaves of my palm trees are closer together than the original design because of the curved surface.If you can cut your decal into smaller sections, that will be much easier to work with.
Take the protective backing off of your decal and stick the center of it on your lamp shade. Work from the center out, pressing the vinyl down and pushing air bubbles out. Using a thin, flat object like a credit card really helps to get the air bubbles out. This will help your vinyl decal to stay on longer.
Step 4: Add String Lights/ Fairy Lights
Add LED string lights inside the lamp globe. LED’s are great because they don’t get hot like other night lights do and they emit a nice glow. You can leave the battery pack out or tuck it inside as well. I have these ones from the Dollarama that I picked up at Christmas time.
*Update* These LED fairy lights start to dim as the batteries die. After having used this night light daily for 2 months (approximately 12hrs daily) I have discovered that a set of batteries will only last about a month- maybe 2 months if they are good batteries. I am now on the hunt for fairy lights with an AC adapter to plug this light in instead of being battery operated.
Step 5: Set In Wood Bowl
Convertible Car side of the night light
<ul type=”disc”>
- Splashing
Whale side of the night lightSet the lamp shade (with string lights) into the wooden bowl with the opening facing down. I stand the battery pack up in the wood bowl and set the shade over top of it to hide the battery pack.
Since I am tucking the battery pack inside the base of the lamp, I did not glue the lamp shade to the wood base. This way I can easily lift the globe to turn the lights on and set it back into place.
If you’re keeping the battery pack outside of your lamp, then you may want to glue the lamp shade to the wood base. Apply a thin bead of hot glue around the inner perimeter of the bowl, then set your lamp shade into place. This will make your diy night light into one secure unit.
The Final Lamp
This diy night light is for my son. He loved our trip to Hawaii and still talks about it. Which is why I put some of his favorite things from the trip (seeing whales, racing around palm trees, and counting convertible cars). He has been using his new lamp every night. I love that it doesn’t get hot so no burns if he happens to touch it. He is very gentle with it so I’m not concerned about the glass globe being unattached, but you know your children best, so please take any necessary precautions. The string lights in the lamp give off a soft glow, enough to comfort him, but not enough to make his room all lit up. And if fills me up with joy knowing I made this diy lamp for him myself.
Enjoy your new lamp and
take pride in knowing that you repurposed house items instead of adding to the
landfill! - Splashing
