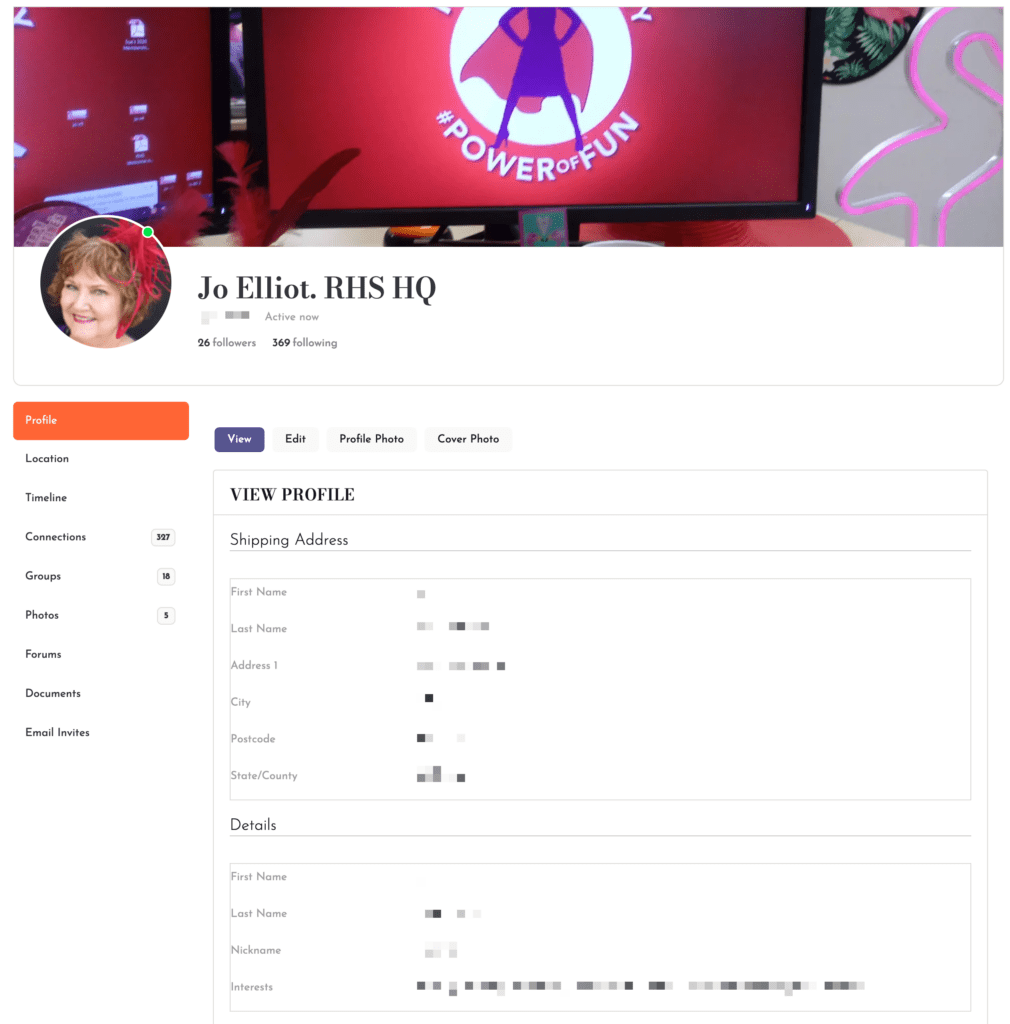
Profile → View
Here you can see your complete profile.
- Membership – This shows your current membership details, including your currently active subscriptions. You can also manage your payment method for automatic renewals of memberships, or for future purchases.
- Timeline – Shows all your activity across multiple groups or discussions, including other members that have interacted with you.
- Connections – Shows your current connections within Red Hat, and if you have any requests to connect with another member.
- Groups – Shows all the groups/chapters you are currently a member of, as well as any pending invitations or requests to join other groups/chapters.
Profile → Edit
Here you can update your profile data, including your first and last name, and nickname that would be used in discussions.
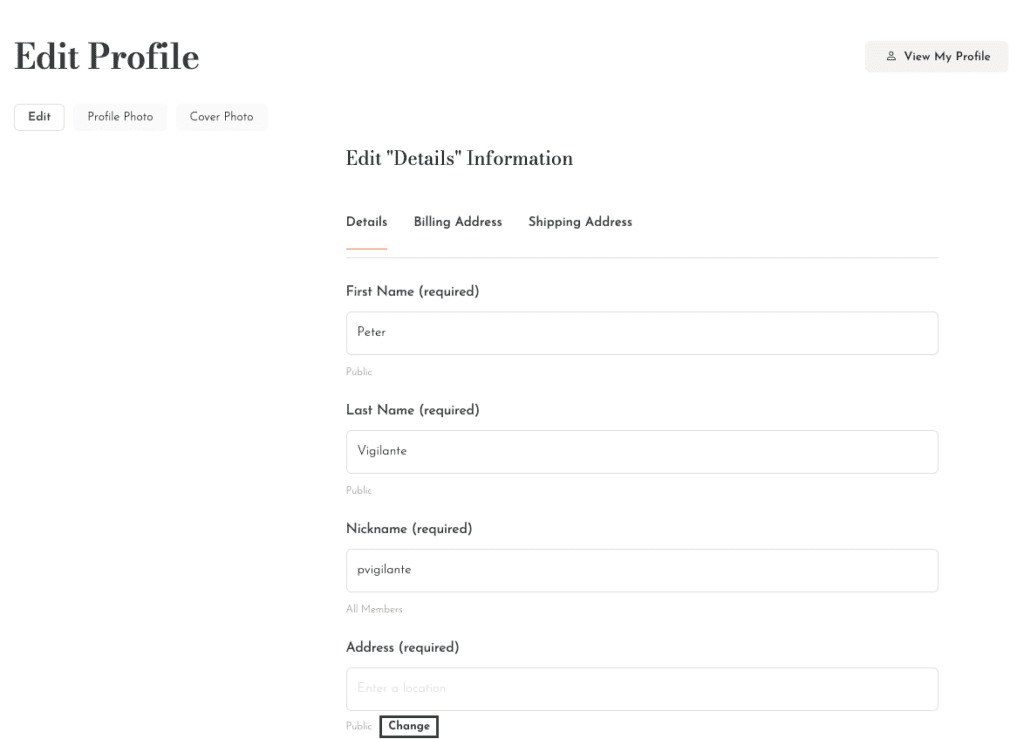
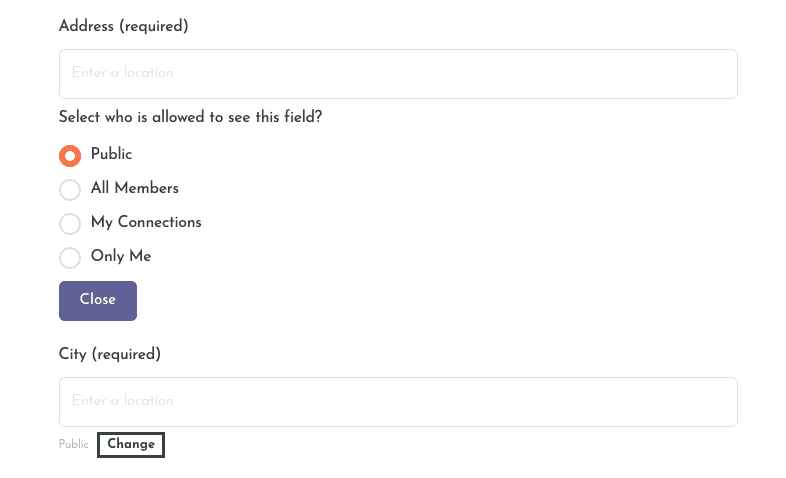
For your address fields and interest fields, you can change how these are visible by clicking the change button below each field and selecting the level of privacy you want for the fields.
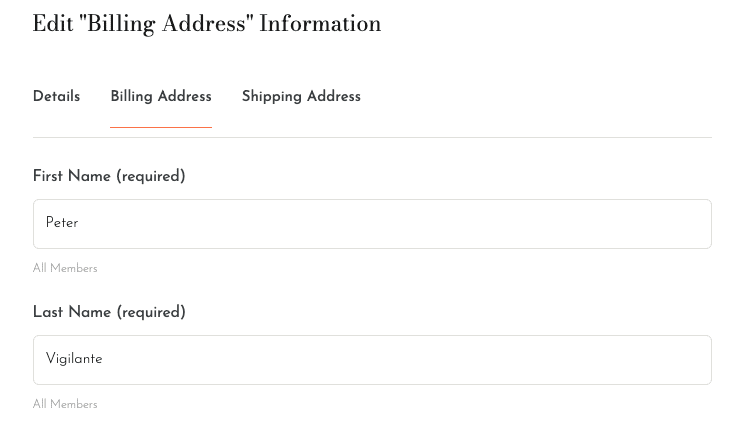
You can also edit your Billing Address and Shipping Address by selecting the tabs at the top of the Profile Editor.
Note that your Billing Address and Shipping address are not public and are only used for purchasing, and can differ from your Profile address details.
Profile → Change Profile Photo
If the email you used to register with a Red Hat Society site is associated with a Gravatar.com account, then the image you uploaded at Gravatar.com will be used to represent you throughout the site. You can change the image by navigating to your Profile → Change Profile Photo page.
You have three options to upload your new profile photo:
1. Upload Tab: Open up the File Upload box by clicking on the “Select Your File” button, choose the image you prefer, crop the image, and save.
2. Upload Tab: Drag and Drop an image from your desktop to the space provided in the screen below, crop the image, and save.
3. Take Photo Tab: You will be able to use your computer’s webcam to take your profile photo if you are using a browser which supports getUserMedia. Otherwise, there will a notification on screen that this feature is not available for you at that time.
3.a. Confirm that you’re willing to share your webcam in the dialogue box which shows up in your Firefox or Chrome browser per the image below (Firefox).
3.b. When you’re satisfied with your “pose”, click on the “Capture” button and then click on the “Save” button.
Delete Tab: If you’d like to delete your profile photo but not upload a new one, click on the “Delete My Profile Photo” button.